Quick Start
This guide shows how to quickly get started with Molybden SDK.
You can try Molybden for free for 3 weeks. Just start using Molybden and the trial period will start automatically on your development machine. Read more about licensing
Prerequisites
- Windows 10 or later.
- Install Node.js version 20.11.0 or higher.
- Install Microsoft C++ Build Tools. Make sure to select the “Desktop development with C++” workload during installation.
- macOS Sonoma 14 or later.
- Install Node.js version 20.11.0 or higher.
- Install Command Line Tools.
- Ubuntu 22.04 64-bit or later.
- Install Node.js version 20.11.0 or higher.
- Install GCC that supports C++20 or later:
sudo apt install gcc
Creating a Molybden app
Make sure your current working directory is the one where you intend to create a project. Run the following command in your command line:
npm create molybden-app@latest
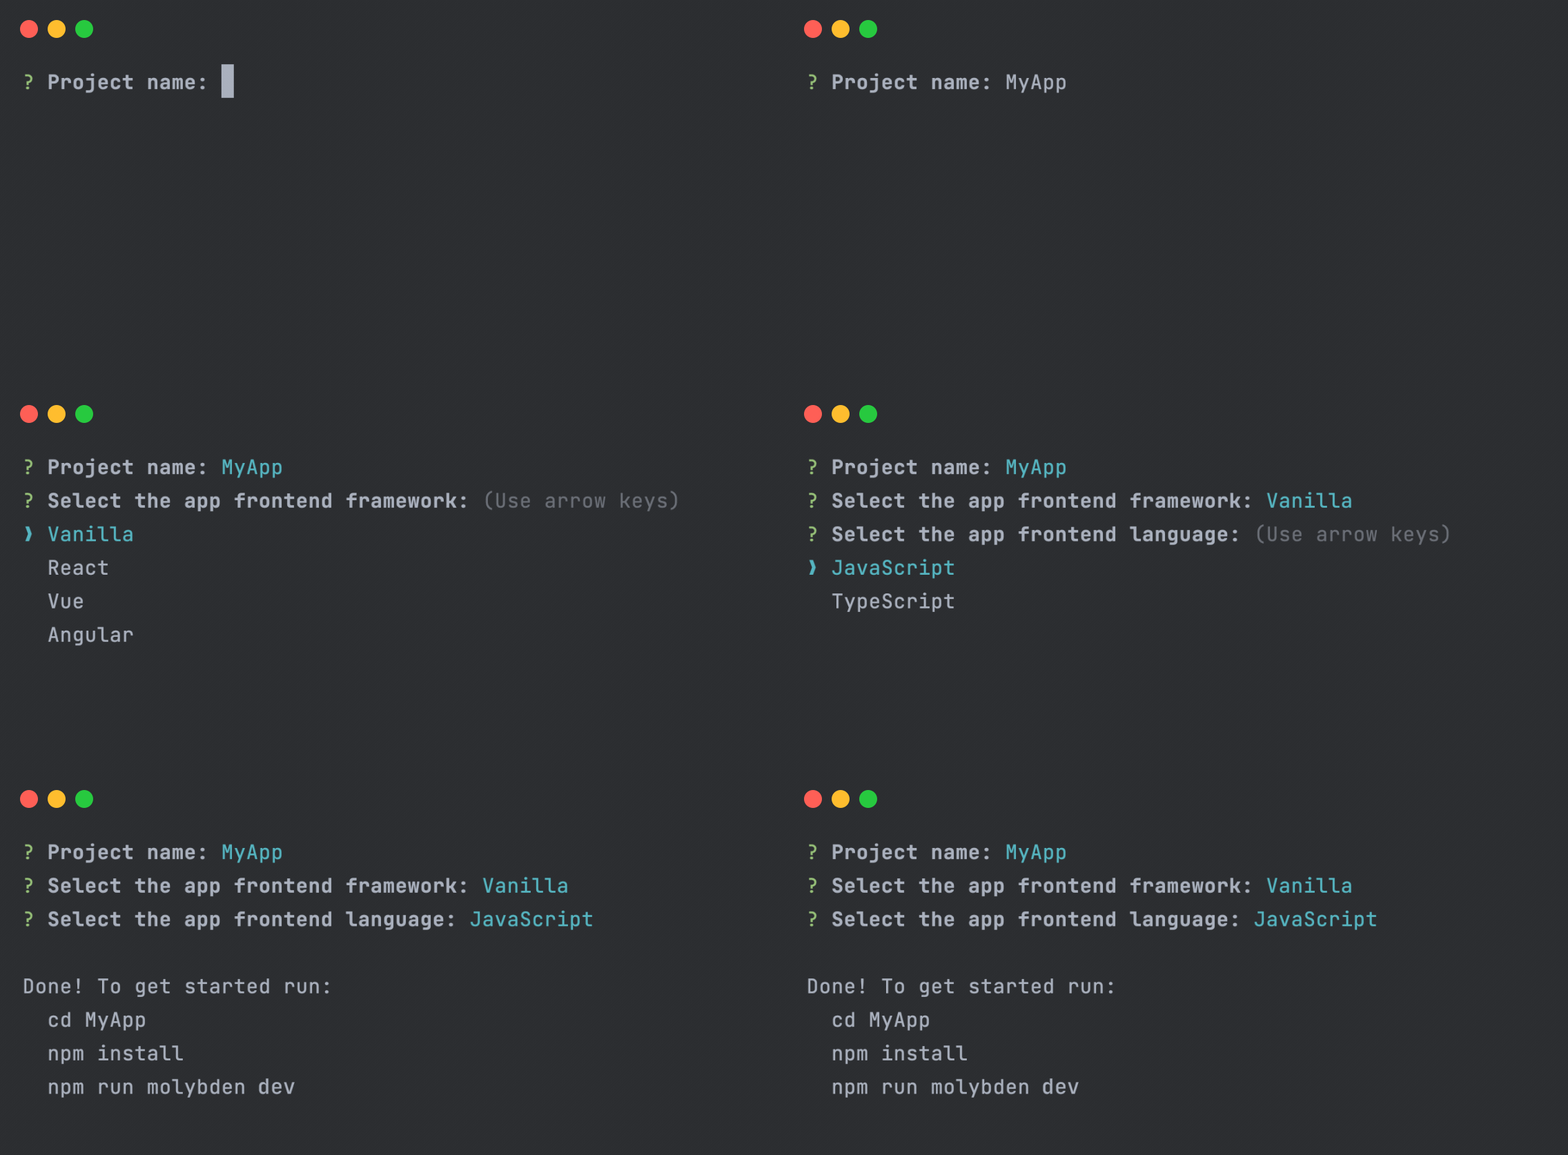
This command will install and execute Create Molybden App, the official Molybden project scaffolding tool. You will be presented with prompts for your project name, the preferred frontend framework, the UI component library, and language:

Once the project is created, follow the instructions to install dependencies and run your first Molybden app:
cd MyApp
npm install
npm run molybden dev
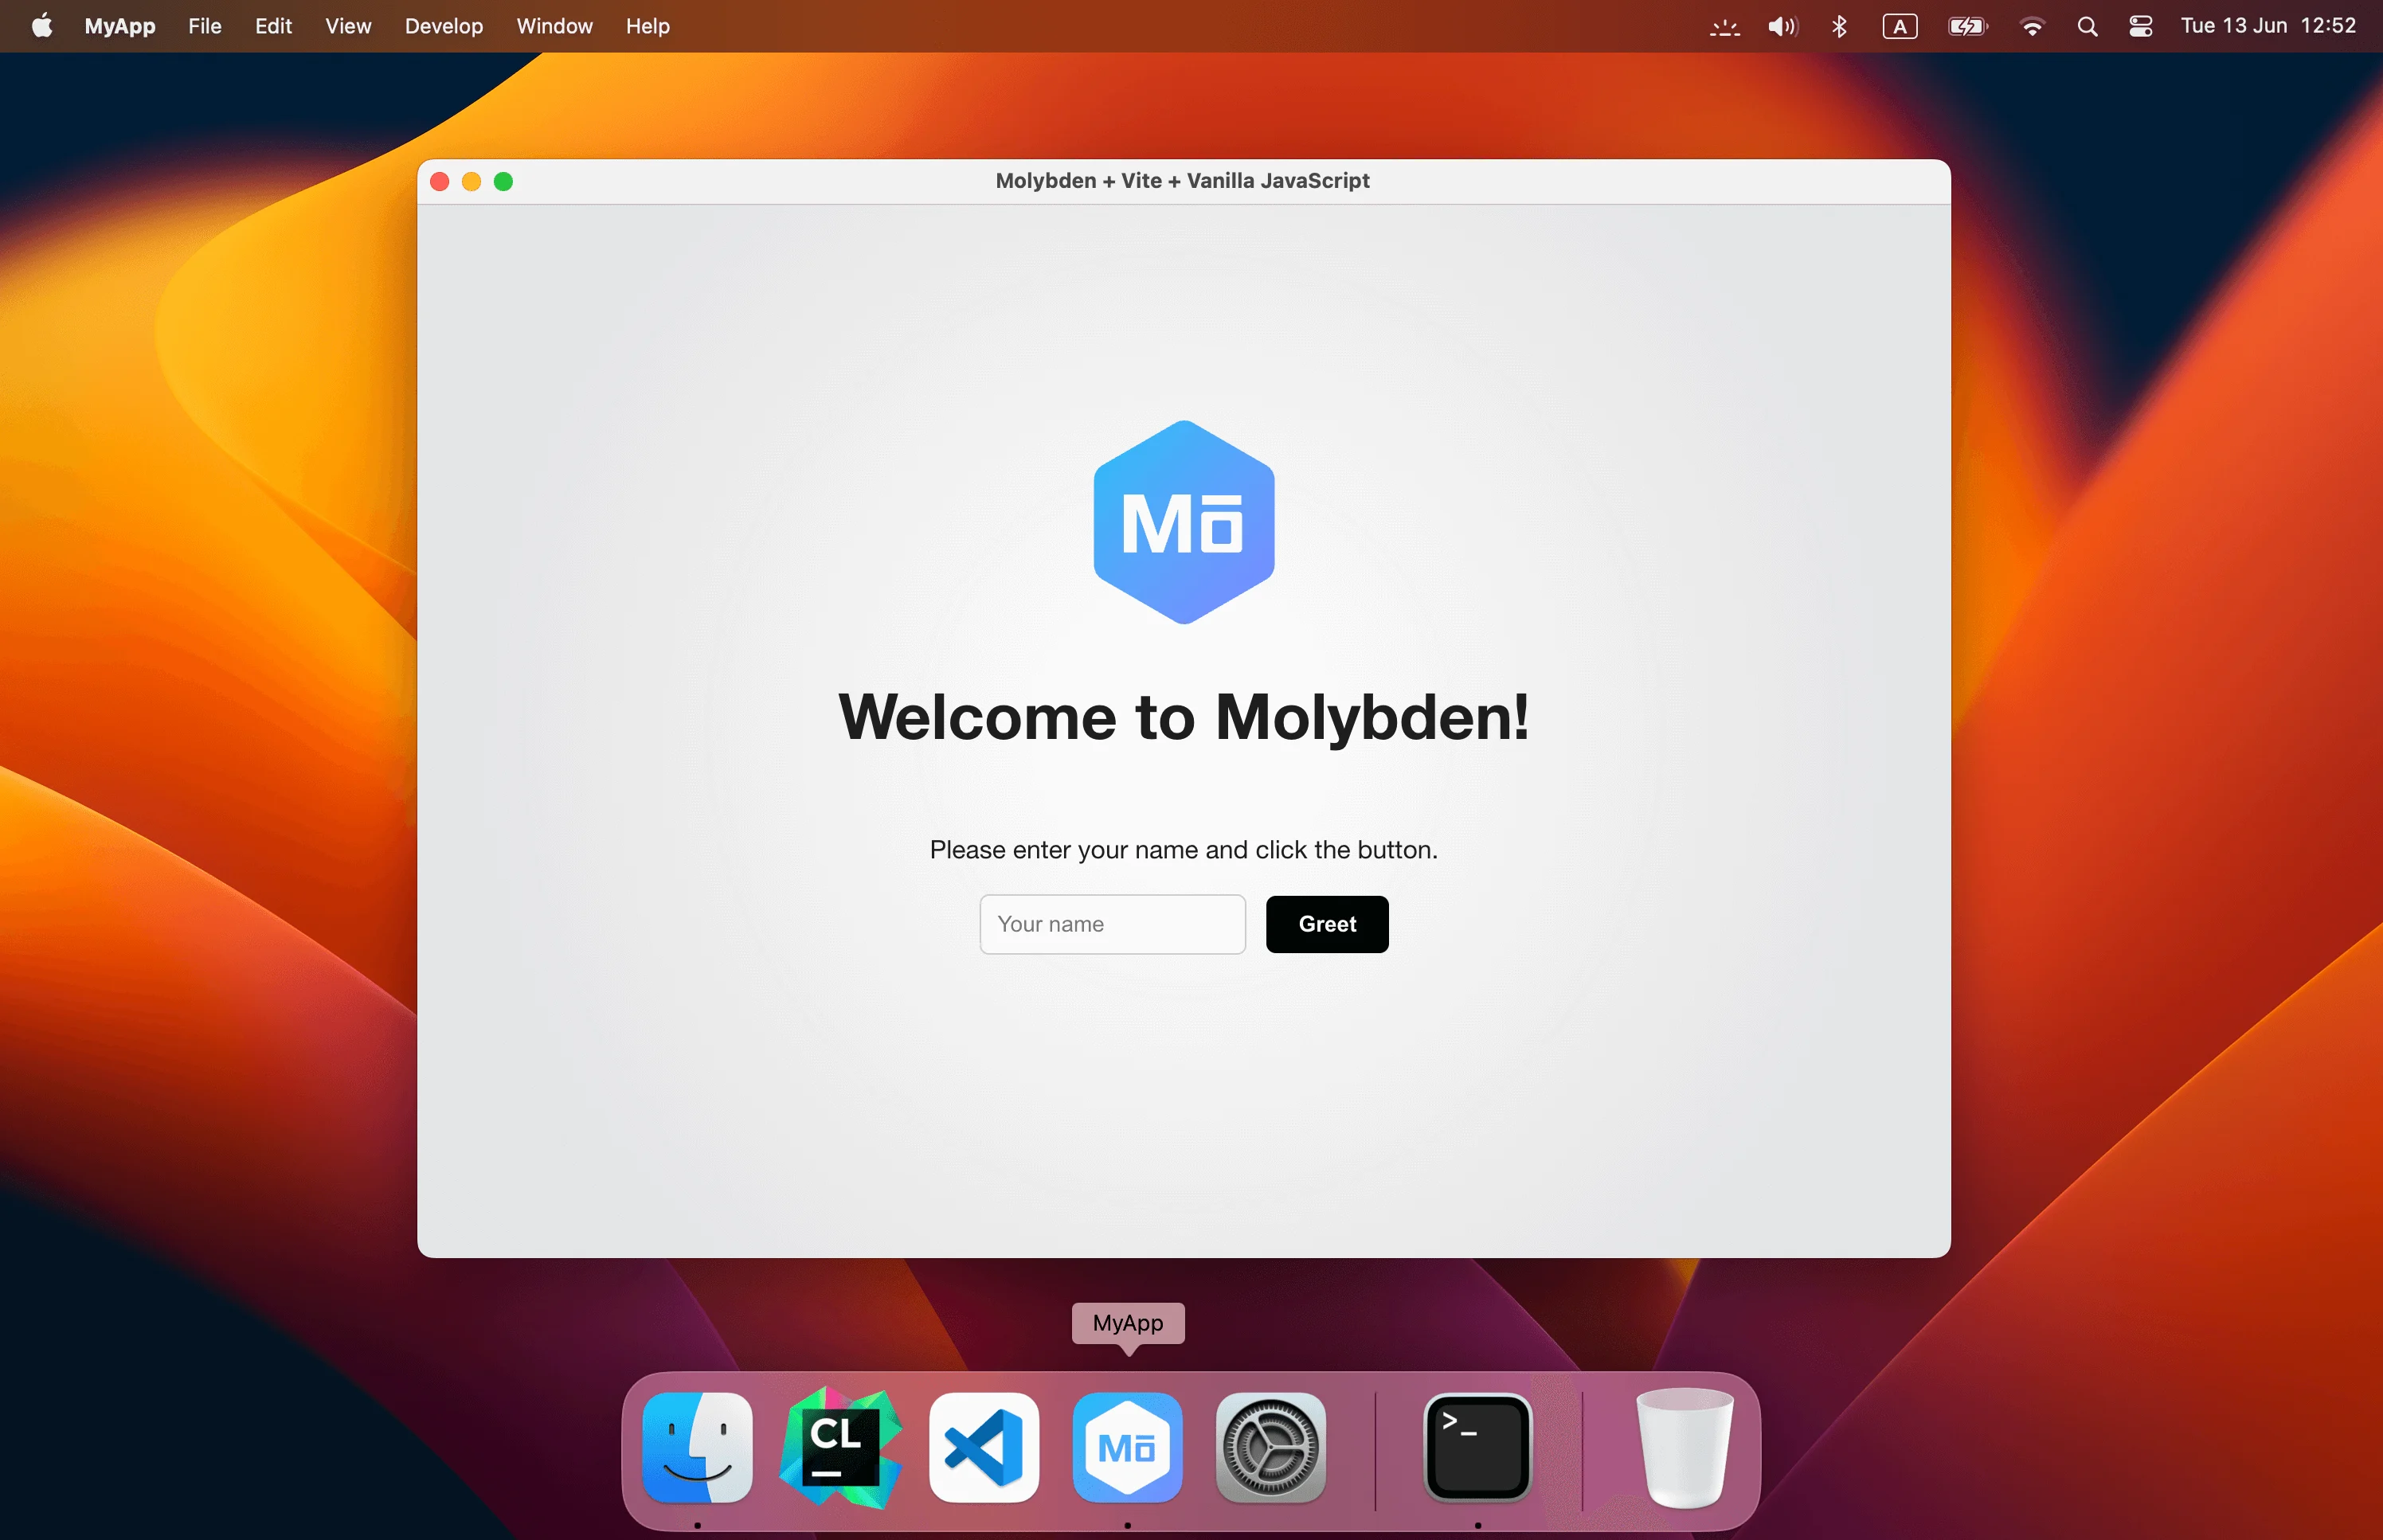
You should now have your first Molybden app running!

When you are ready to ship your app to production, run the following:
npm run molybden build
This command will build and pack your application into a native executable and place it in the
project’s ./build-dist/bin directory. On macOS and Windows platforms, it will also create a native installer in the
./build-dist/pack directory.
Next steps
Now that you have created a Molybden project, you can follow the Tutorial where you will learn how to create your first Molybden app.