Notifications
This page describes how to show desktop notifications to the users.
Molybden closely integrates with the operating system and allows you to show desktop notifications to the users. You can use the notifications to inform the users about the events that happen in your app, e.g. new messages, completed tasks, etc.
You can show notifications from JavaScript using the web Notifications API.
Requesting permission
The user must grant permission to show desktop notifications. You can check if the user has granted the permission using the Notification.permission property. This property returns one of the following values:
-
default- the user hasn’t granted or denied the permission yet. -
granted- the user has granted the permission. -
denied- the user has denied the permission.
Here’s an example of how to check the permission in JavaScript:
if (Notification.permission === 'granted') {
  // Show notification.
}
If the user hasn’t granted the permission yet, you can request it using the Notification.requestPermission() method of the Notifications API. This method returns a promise that resolves to the permission value:
Notification.requestPermission().then(function (p) {
  if (p === 'granted') {
    // Show notification.
  }
});
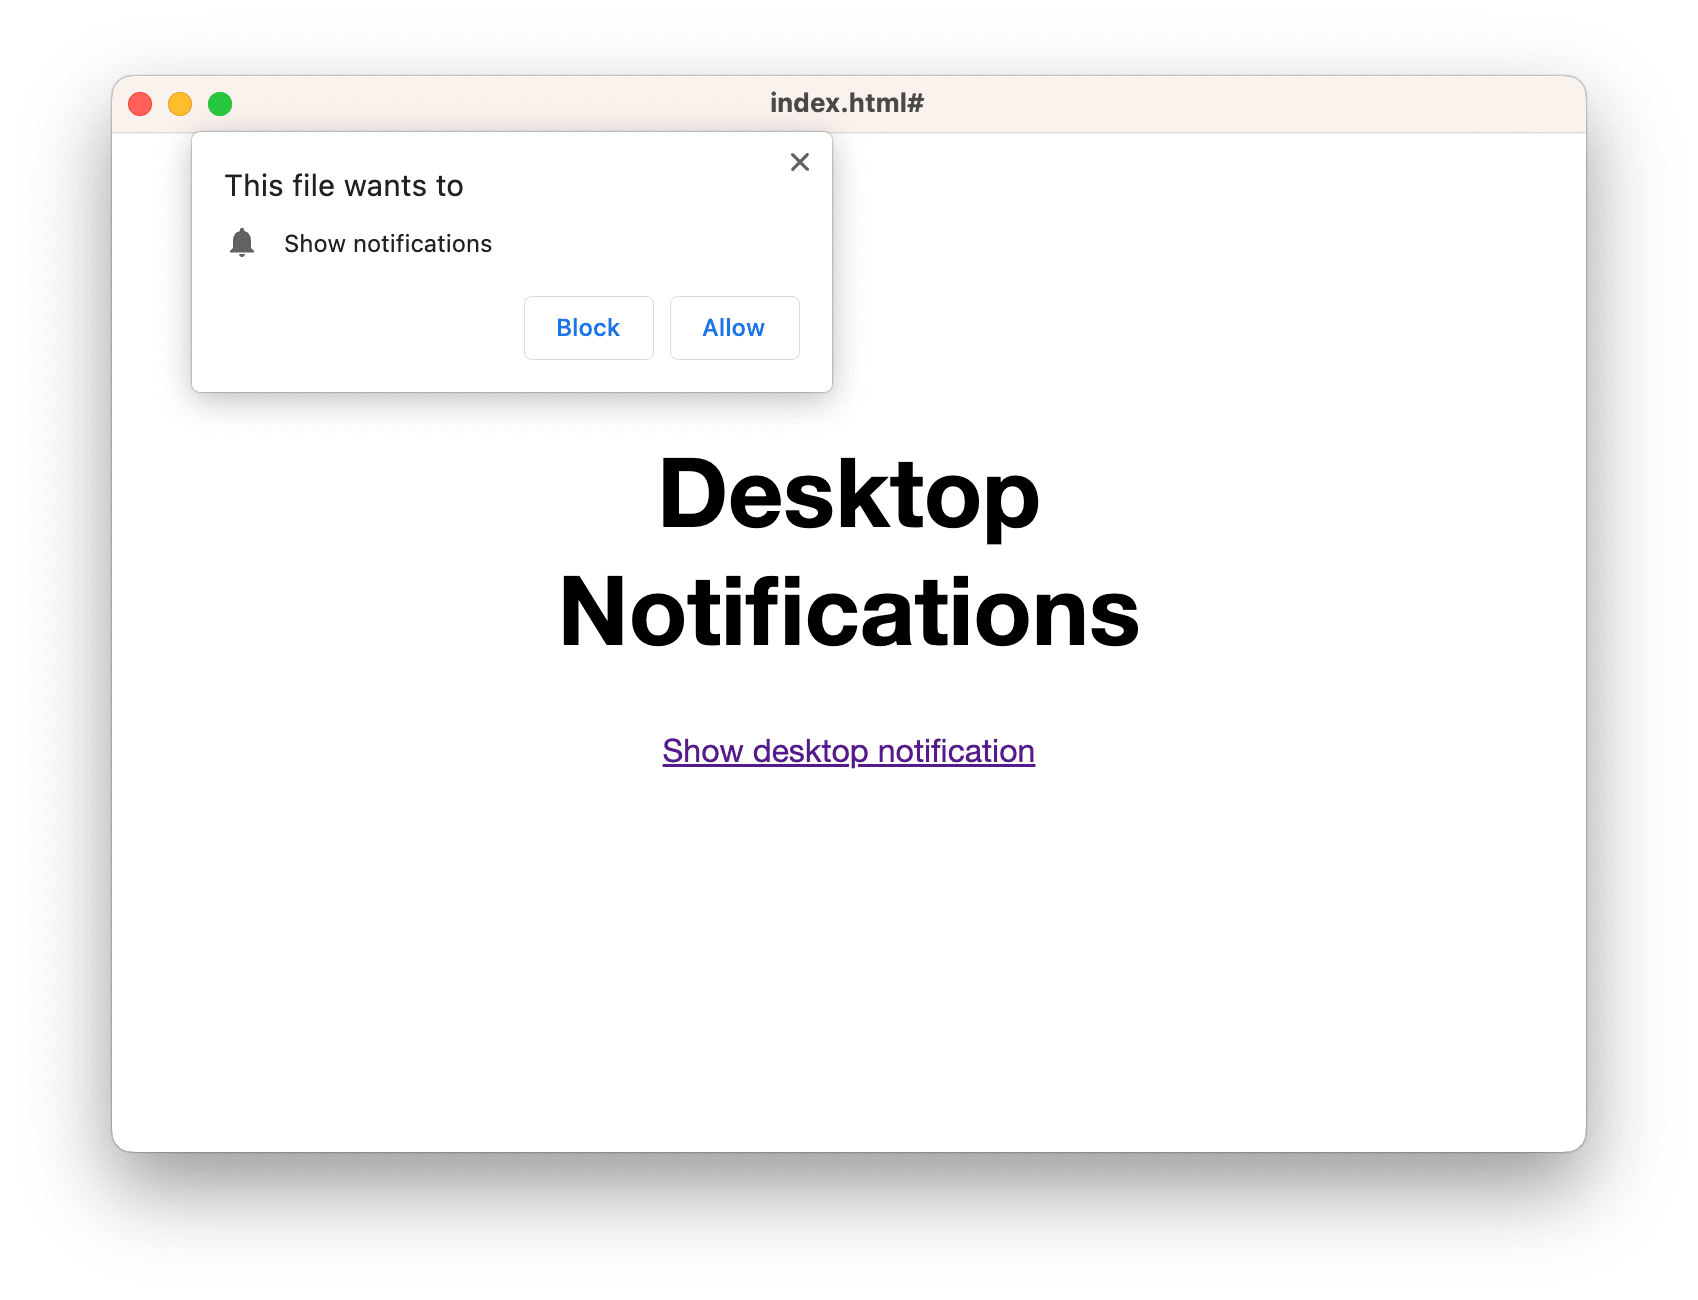
By default, Molybden will display a permission prompt asking the user to grant or deny access.
Granting permission
You can grant permission to show desktop notifications programmatically. This will prevent the permission prompt from being displayed:
auto permissions = app->profile()->permissions();
permissions->onRequestPermission = [](const RequestPermissionArgs& args,
                                      RequestPermissionAction action) {
  // Allow desktop notifications.
  if (args.permission_type == PermissionType::kNotifications) {
    action.grant();
  } else {
    // Otherwise, ask the user.
    action.ask();
  }
};
Resetting permission
You can always reset the decision for specific website programmatically:
auto website_url = "https://mywebsite.com";
permissions->resetPermission(PermissionType::kNotifications, website_url);
Read more about Permissions API
Creating a notification
If the website has the permission to show notifications, you can show a notification using the Notification constructor:
new Notification("Notification title");
You can also pass an options object to specify the notification title, body, icon, and more:
new Notification("Notification title", {
  body: "Notification text",
  icon: "/img/icon.png"
});
Closing notifications
Molybden will automatically close the notification after a few seconds.
You can also close the notification programmatically using the close() method:
const notification = new Notification("Notification title");
notification.close();
Platform considerations
While you can use the same code to show notifications on all platforms, you should be aware that the notifications are shown in a different way on each platform. Different platforms have different requirements for the notifications and the apps that show them.
macOS
When user runs your app for the first time, macOS will ask the user to grant permission to show notifications. The user must allow the app to show notifications:
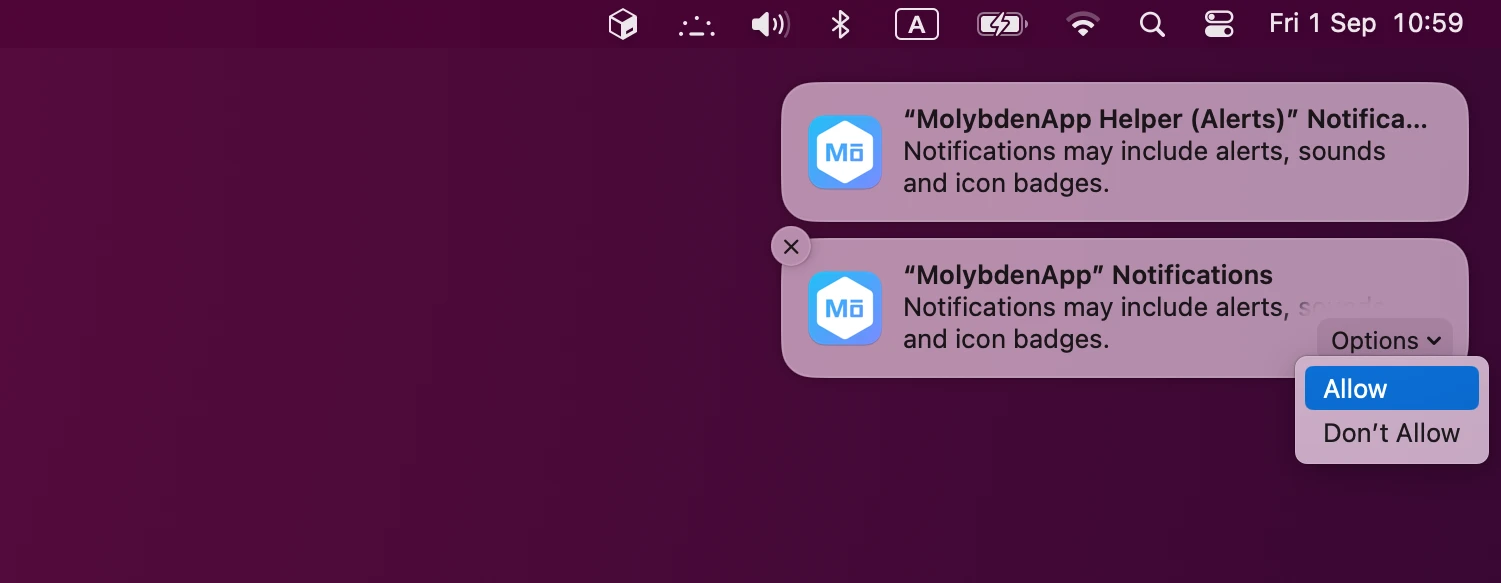
Otherwise, the app won’t be able to show notifications.
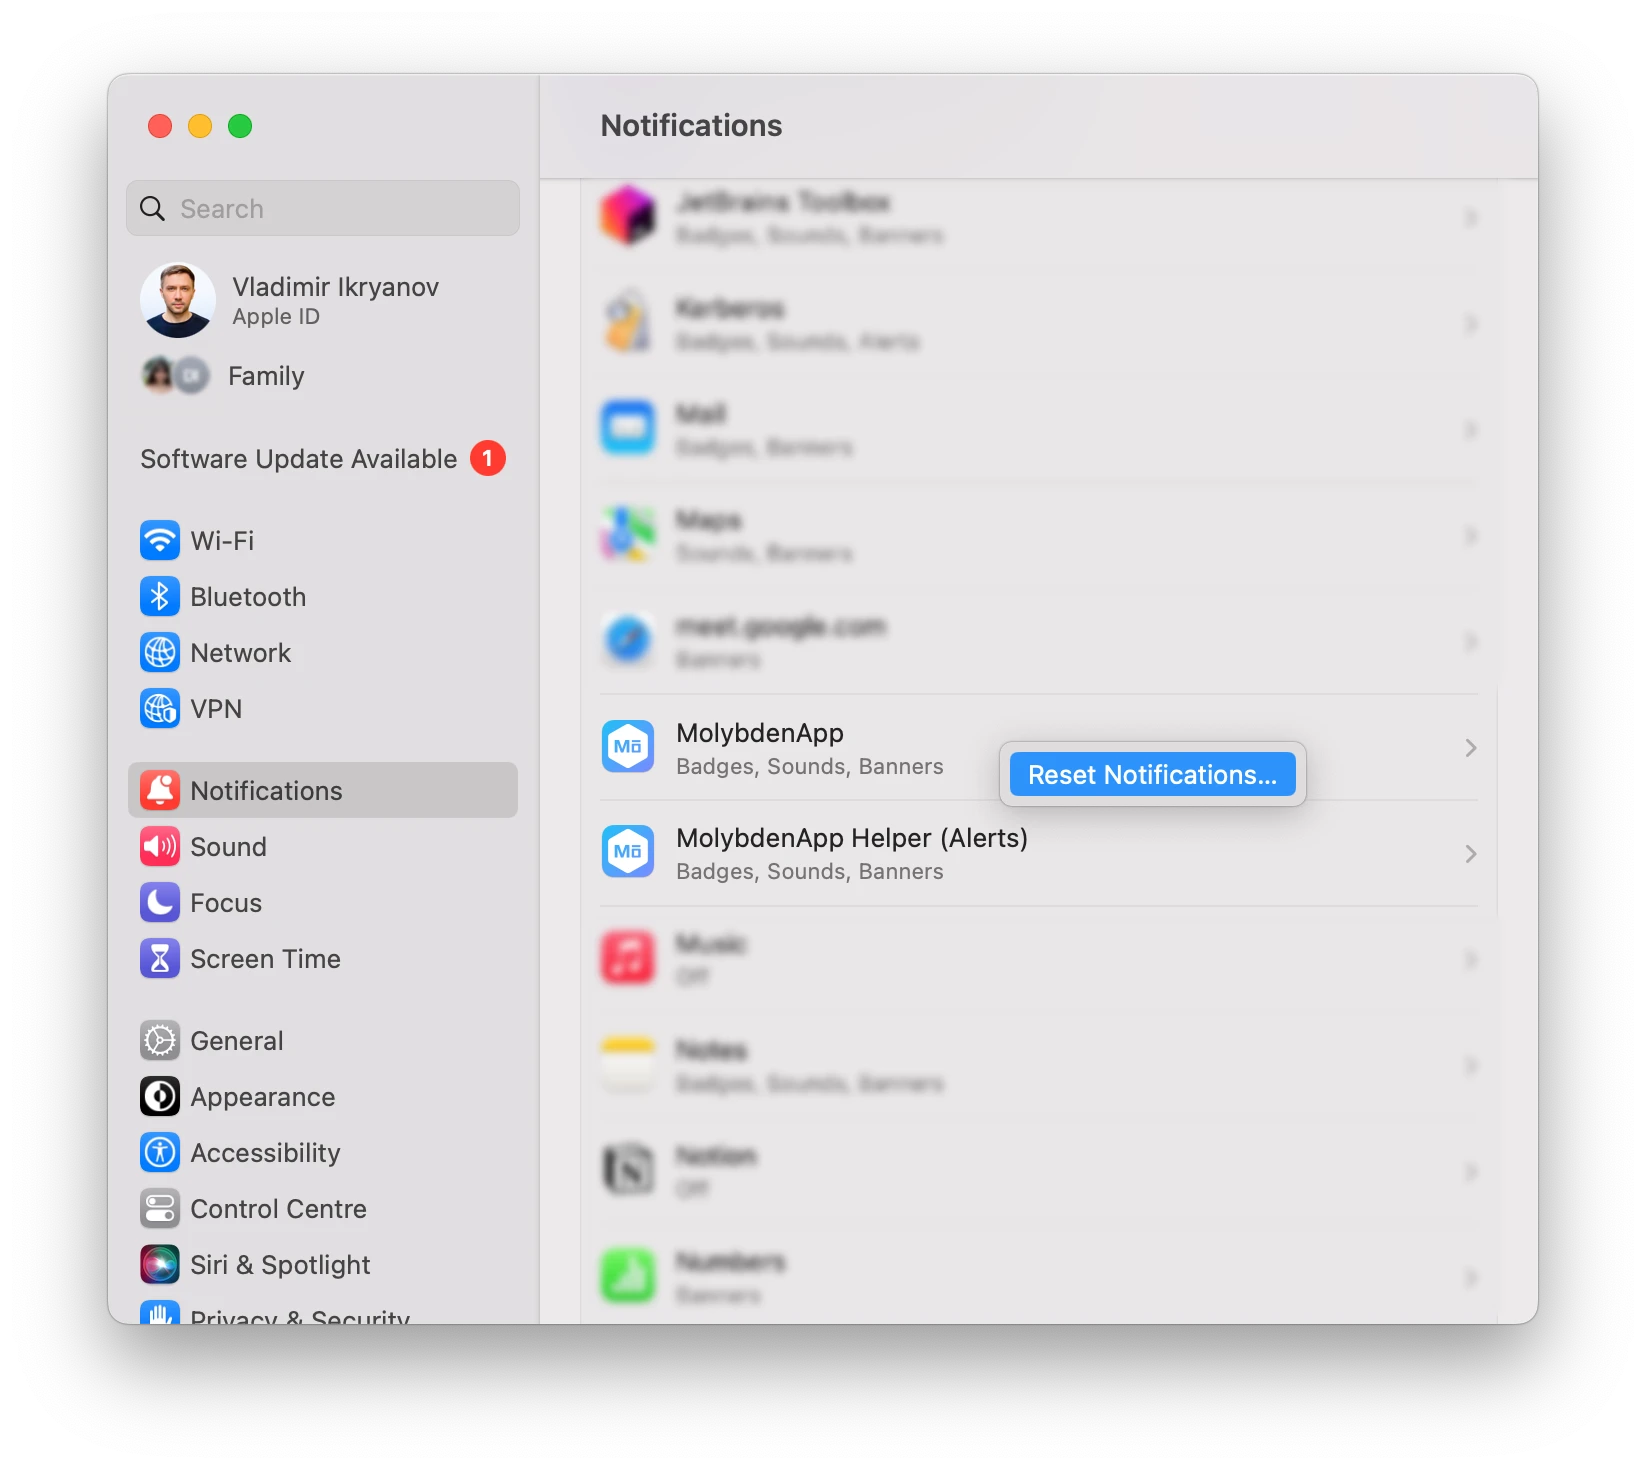
The user can change the decision in System Preferences → Notifications.
Find your app in the application list and right-click it to reset notifications: