Desktop Notifications
This page describes how to show native desktop notifications.
The framework provides API that allows you to show native desktop notifications on Windows, macOS, and Linux.
The following example shows how to create and show a simple notification:
import { Notification } from '@mobrowser/api';

const notification = new Notification({
  title: 'Download finished',
  body: 'The file has been downloaded to the Downloads folder'
})
notification.show()
Different platforms have different notification systems. On macOS notifications are displayed in the Notification Center:
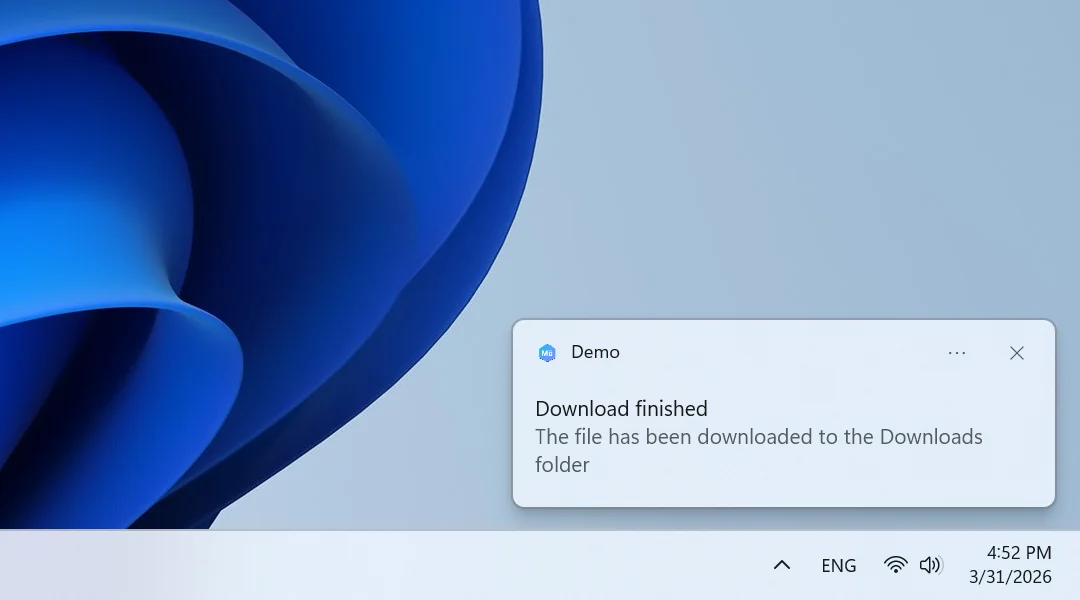
On Windows notifications are displayed in the Action Center:
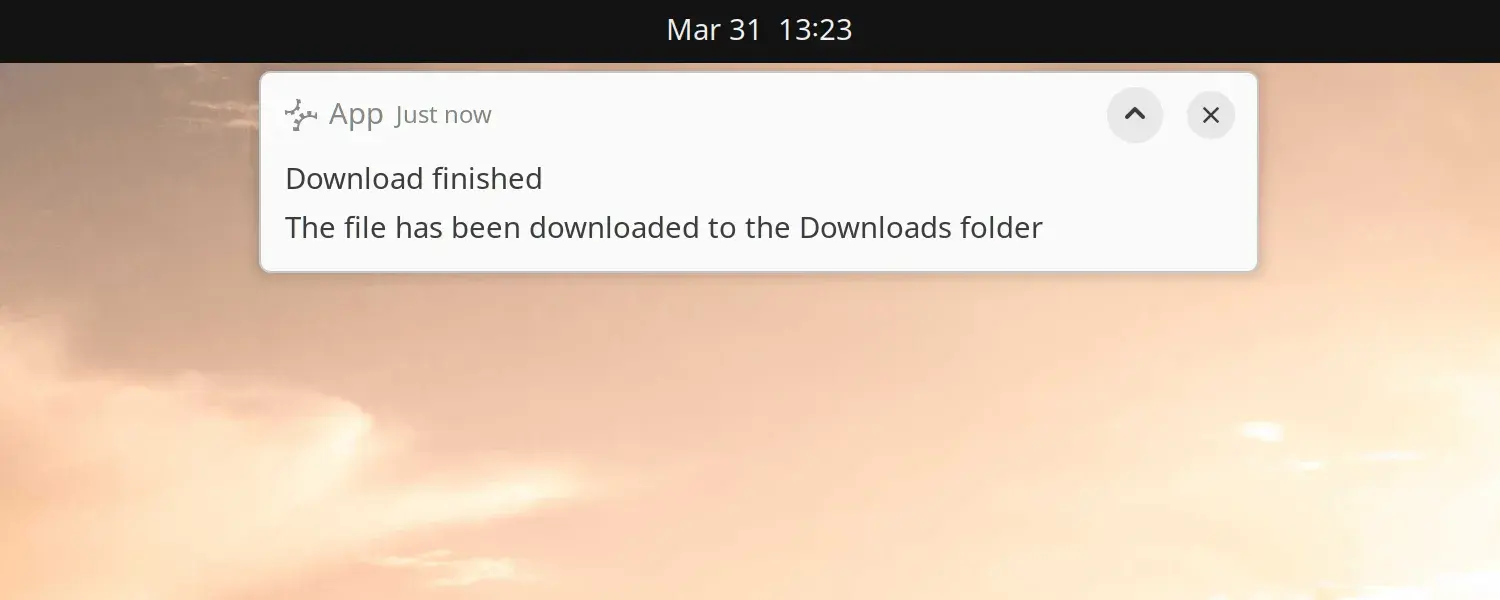
On Linux notifications are displayed in the System Notification area:
Customizing notifications
You can customize notifications by setting its title, message, icon, action buttons, dropdown list of actions, etc. You can even set a custom sound that will be played when the notification is displayed. See all the available options in NotificationOptions.
Actions
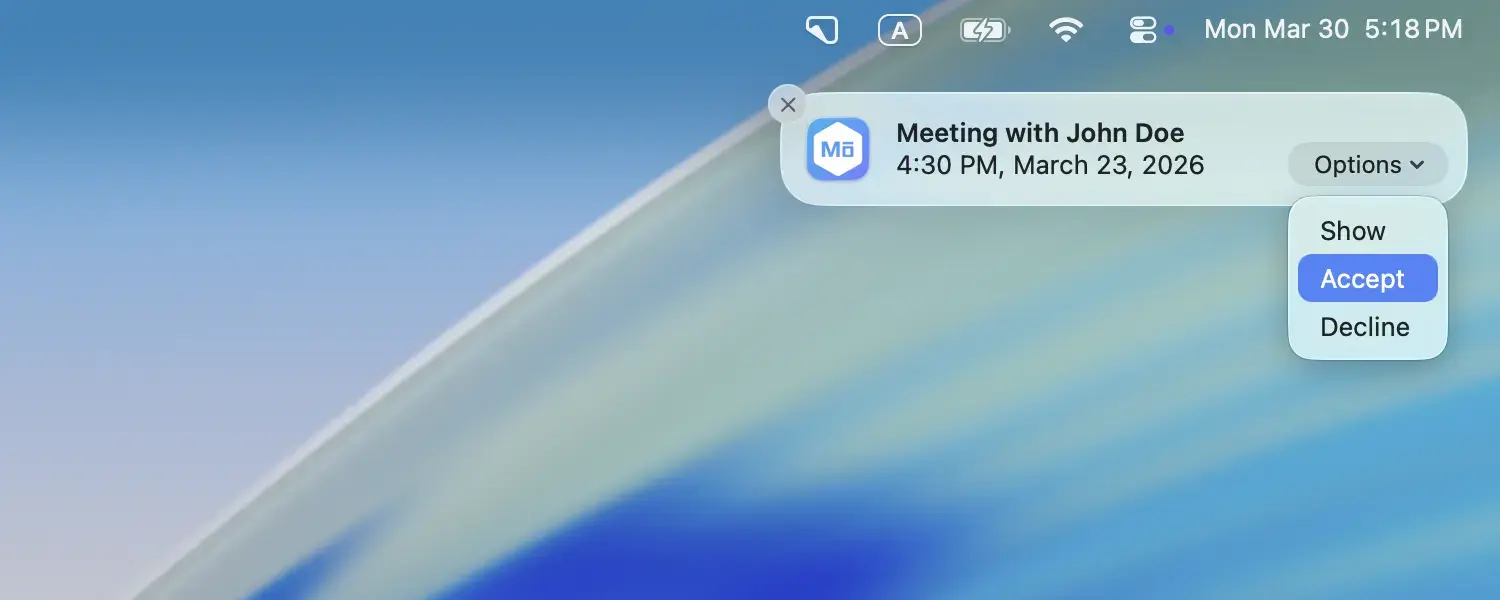
A notification can contain a list of NotificationAction rendered as labeled buttons. The following example shows how to create a notification with two action buttons and get notified when the user clicks on one of the buttons.
import { Notification } from '@mobrowser/api';

const notification = new Notification({
  title: 'Meeting with John Doe',
  body: '4:30 PM, March 30, 2026',
  actions: [
    {
      text: 'Accept',
      action: () => { console.log('Invitation accepted') }
    },
    {
      text: 'Decline',
      action: () => { console.log('Invitation declined') }
    }
  ]
})
notification.show()
On macOS the notification will look like this:
Select actions
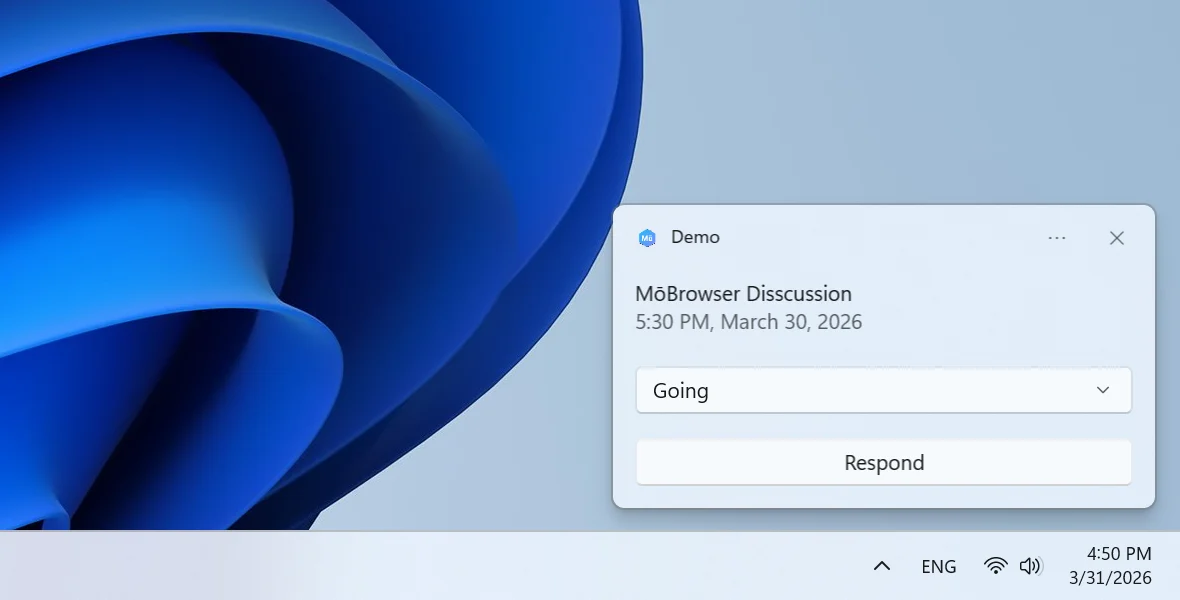
For Windows toast-notifications that need multiple choices, you can use a dropdown list of actions. The following example shows how to create a notification with a dropdown list of actions and get notified when the user selects an item.
import { Notification } from '@mobrowser/api';

const notification = new Notification({
  title: 'MōBrowser Disscussion',
  body: '5:30 PM, March 30, 2026',
  selectActions: [
    {
      text: 'Respond',
      items: ['Going', 'Absent'],
      action: (notification: Notification, item: string) => {
        console.log('Invitation response: ', item)
      }
    }
  ]
})
notification.show()
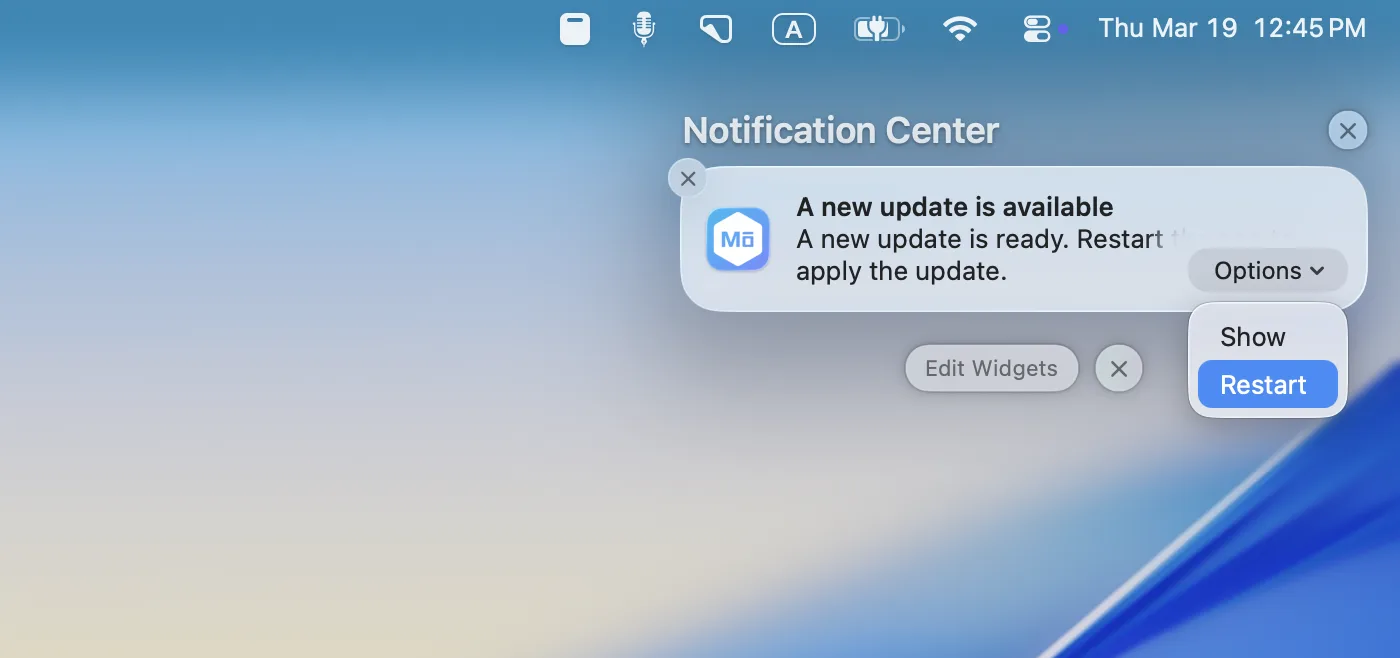
On Windows the notification will look like this:
Reply input field
On macOS and Windows a notification can contain a reply field that allows the user to reply to the notification. The following example shows how to create a notification with a reply field and get notified when the user replies.
import { Notification } from '@mobrowser/api';

const notification = new Notification({
  title: 'New message',
  body: 'Sam: Can you review the doc?',
  hasReply: true,
  replyPlaceholder: 'Type a reply…',
});

notification.on('replyReceived', (reply: string) => {
  console.log('User replied:', reply);
});

notification.show();
On macOS the notification will look like this:

Platform considerations
Whenever working with the notifications, it’s essential to understand certain differences in behavior across the supported systems.
macOS
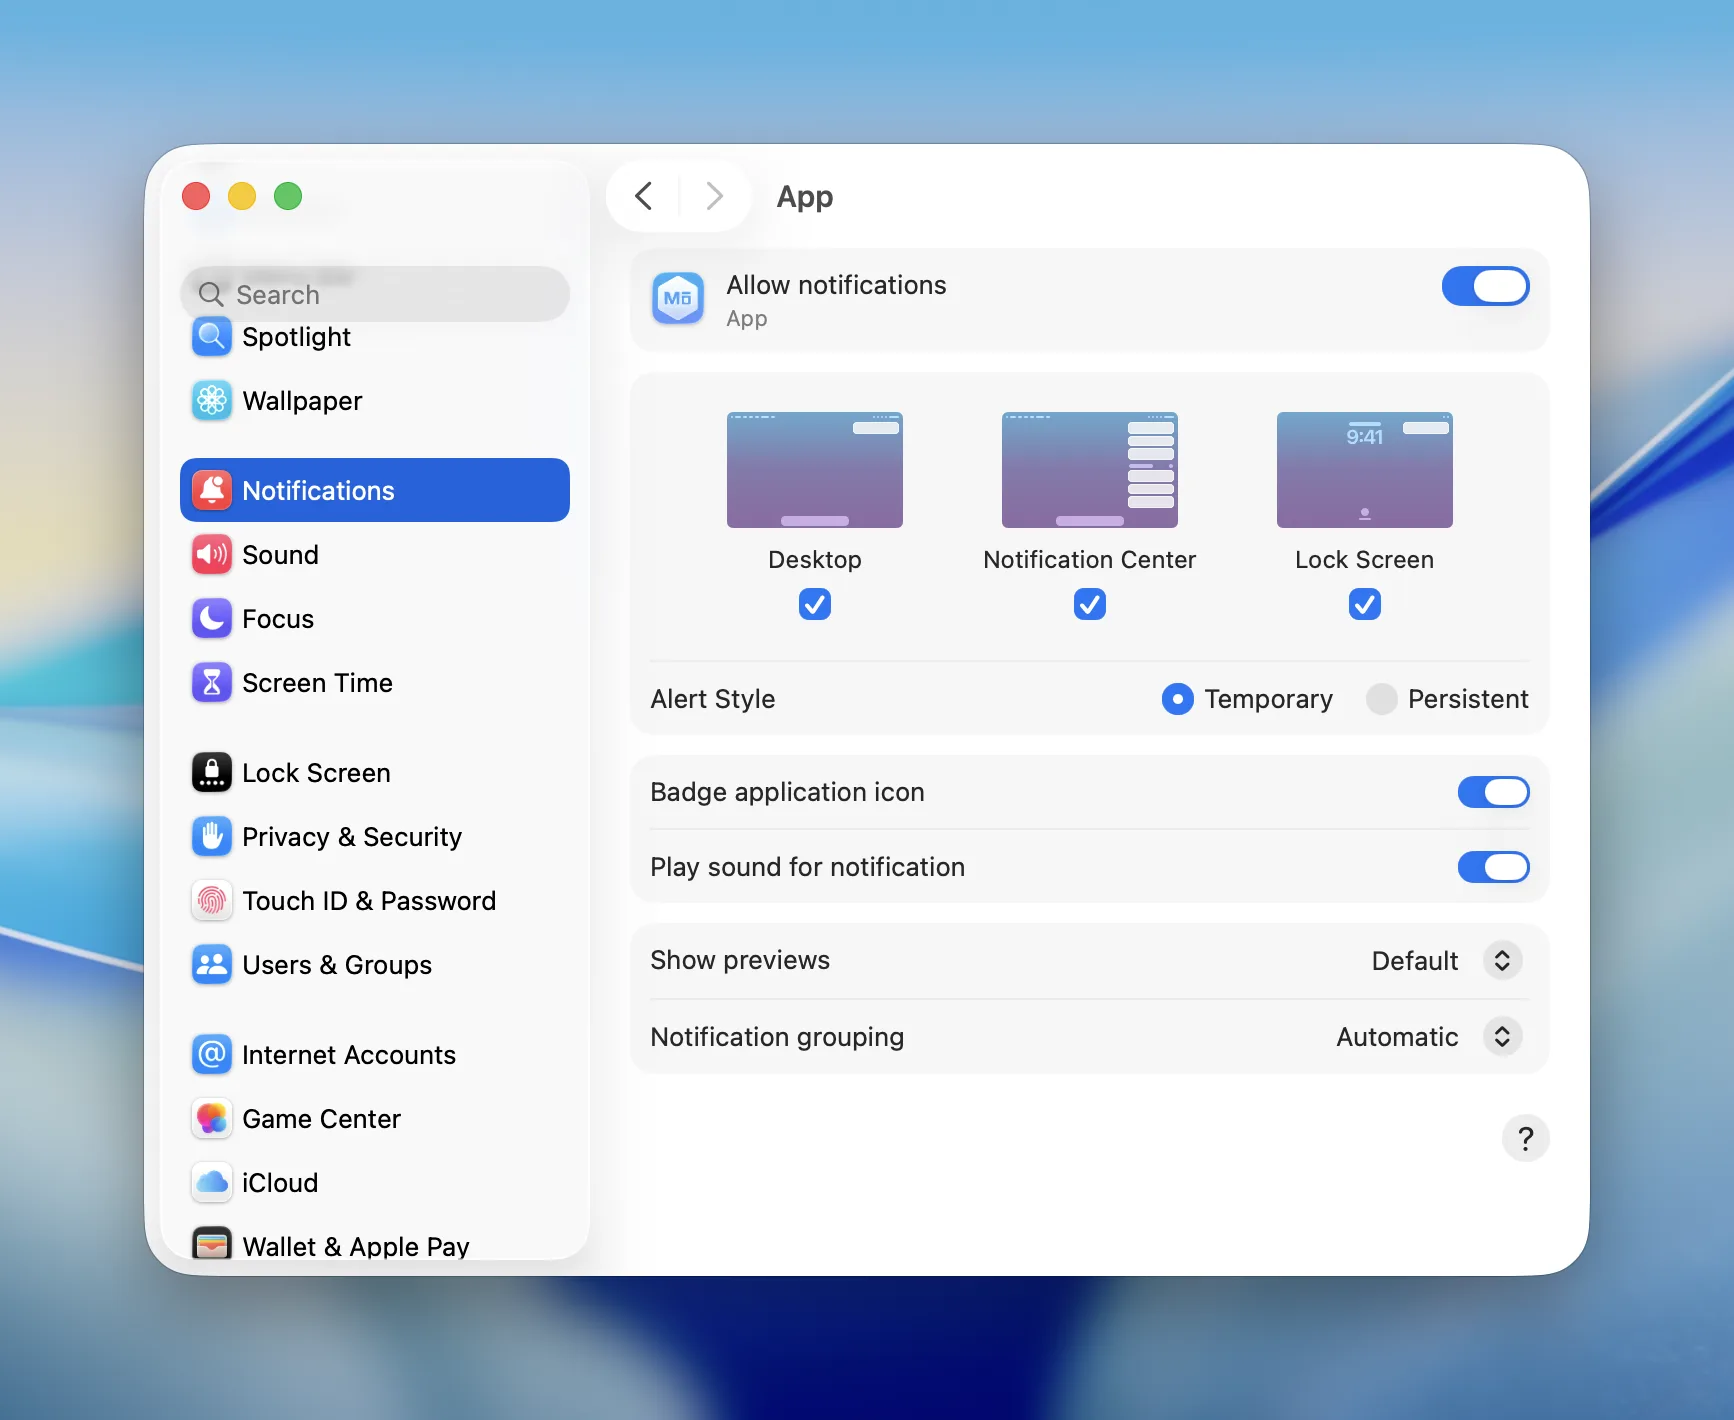
When you run the application and show a notification for the first time, macOS will ask you to allow your application to show notifications. If you don’t allow it, all notifications from your application will not be shown.
You can allow notifications by clicking on the Allow button in the notification permission dialog. Alternatively, you can allow notifications by going to System Settings > Notifications > Application and enabling the Allow notifications option.
Windows
Before emitting notifications, your application must have the corresponding permission. You can enable it by going to System > Notifications > Application and enabling the Notifications option.

For the correct notifications lifecycle on Windows the application must have a valid Start Menu shortcut entry with AppUserModelID and a corresponding ToastActivatorCLSID.
MōBrowser applications meet these requirements by default, so the notifications work out of the box. The AppUserModelID is initialized as com.teamdev.mobrowser.{APP_NAME}. The ToastActivatorCLSID is initialized using the
CoCreateGuid Win32 API function.
Linux
Notifications are delivered via libnotify library. It allows your application to show notifications on any desktop environment that supports the Desktop Notifications Specification, such as Cinnamon, Enlightenment, Unity, GNOME, and KDE.
Best practices
Effective notifications should be relevant and helpful, while remaining non-critical and easy to ignore. Their purpose is to inform users without disrupting their workflow, ideally providing insights that help them adjust their actions or avoid potential issues.
- Consider the following practices for delivering timely, relevant, and non-intrusive updates that respect user attention.
- The notification UIs on macOS, Windows, and Linux differ and often cap the number of
NotificationActionsor how they are shown. Prefer one primary and one secondary action. Test how they are shown on each target OS. NotificationAction.textis optional. We recommend always setting text, so the button has a clear label. Omitting text may produce empty or awkward controls depending on the backend.- Clicking notification body emits a
clickedevent. When user clicks on an action button the action callback is invoked. Handle both if you care about click anywhere vs clicking a specific button. - Avoid including sensitive, personal, or confidential information in your notifications.